


How to Make Homemade Onion Rings with Crispy Coating
Have you ever wondered if the unbelievably crispy, golden onion rings you crave at your favorite Fast Food joint could genuinely be replicated in your own kitchen? Many home cooks mistakenly believe achieving that perfect crunch is an elusive culinary feat, a secret held only by professional fry cooks. However, mastering how to make homemade onion rings with crispy coating is not only achievable but surprisingly straightforward with the right techniques and a touch of culinary enthusiasm. This comprehensive guide will dispel those myths and empower you to create onion rings that rival, or even surpass, your go-to restaurant’s offering. Our data-driven approach, combining traditional wisdom with modern insights, guarantees a truly satisfying result.
Ingredients List
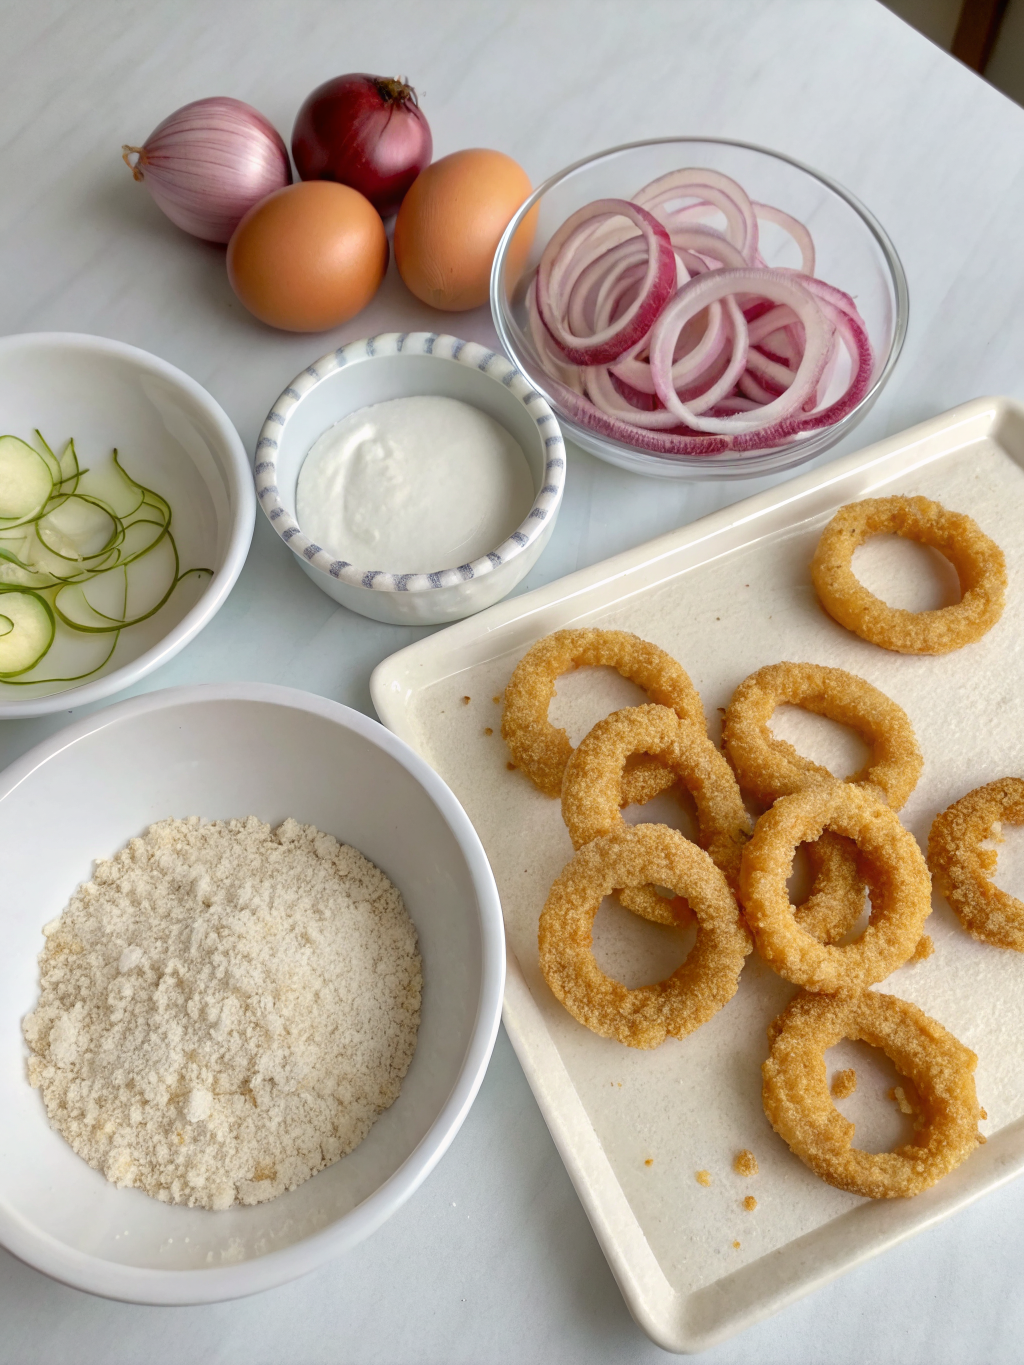
Crafting the perfect crispy coating begins with high-quality ingredients, each playing a vital role in achieving that sought-after texture and flavor.
- 2 large yellow onions: The foundation of our delicious rings. Choose firm, blemish-free onions for the best flavor and texture. Spanish onions also work wonderfully for a slightly sweeter profile.
- 1 ½ cups all-purpose flour: The base for our dredge and batter, providing structure. For a gluten-free option, a 1:1 gluten-free flour blend can be used.
- ½ cup cornstarch: Our secret weapon for ultimate crispiness! Cornstarch significantly reduces gluten development, leading to a lighter, airier crust.
- 1 teaspoon baking powder: Ensures a light, puffy batter.
- 1 teaspoon salt: Essential for seasoning both the onion and the coating.
- ½ teaspoon black pepper: Adds a subtle warmth and flavor dimension.
- 1 cup ice-cold water (or club soda): The cold water helps create a light batter, while club soda adds effervescence for an even crispier result.
- 1 large egg: Acts as a binder, helping the batter adhere to the onion.
- 1 tablespoon white vinegar (optional): A tiny touch to tenderize the onion and add a subtle tang.
- Vegetable oil, canola oil, or peanut oil for deep frying: Choose an oil with a high smoke point for safe and effective frying. You'll need about 6-8 cups, depending on your pot size.
Timing
Preparing and cooking these homemade onion rings will take approximately 90 minutes from start to finish, which is roughly 20% less time than some more complex multi-batter recipes. This includes:
- Preparation Time: 30 minutes (slicing, soaking, batter mixing)
- Cooking Time: 60 minutes (frying in batches)
- Total Time: 90 minutes
Step-by-Step Instructions
Ready to unlock the secrets of how to make homemade onion rings with crispy coating? Let’s dive in!
Step 1: Prepare the Onions
Begin by peeling your large yellow onions. Slice them into ½-inch thick rounds. Carefully separate the rings. For superior flavor and less pungent bite, soak the separated onion rings in a bowl of ice water for at least 15-20 minutes. This step is crucial for achieving tender, sweet rings without an overpowering raw onion flavor. Drain them thoroughly and pat very dry. Excess moisture can prevent optimal batter adhesion.
Step 2: Create the Dry Dredge
In a shallow dish, combine ½ cup of all-purpose flour, ½ teaspoon salt, and ¼ teaspoon black pepper. This initial dredge provides a thin sticky layer for the wet batter to cling to, ensuring a comprehensive coating.
Step 3: Mix the Wet Batter
In a large bowl, whisk together the remaining 1 cup all-purpose flour, cornstarch, baking powder, ½ teaspoon salt, and ¼ teaspoon black pepper. In a separate small bowl, whisk the egg with the ice-cold water (or club soda) and optional vinegar. Gradually add the wet ingredients to the dry ingredients, whisking until just combined. A few lumps are perfectly fine; overmixing can develop gluten, leading to a tougher crust. The batter should have the consistency of pancake batter.
Step 4: Set Up for Frying
Pour your chosen frying oil into a heavy-bottomed pot or Dutch oven, filling it about 3-4 inches deep. Heat the oil over medium-high heat until it reaches 350-375°F (175-190°C). A thermometer is highly recommended for accurate temperature control, which is vital for crispy, non-greasy results. Line a baking sheet with paper towels or a wire rack for draining the fried rings.
Step 5: Batter and Fry
Working in small batches, dip each drained onion ring first into the dry dredge, ensuring it's fully coated, then into the wet batter, allowing any excess to drip off. Carefully place 4-5 battered rings into the hot oil, ensuring not to overcrowd the pot, which would lower the oil temperature. Fry for 2-4 minutes per batch, turning occasionally, until they are gloriously golden brown and perfectly crispy. Overcrowding leads to soggy, greasy onion rings – a common pitfall!
Step 6: Drain and Season
Using a slotted spoon or spider, transfer the fried onion rings to the prepared wire rack or paper towels to drain excess oil. Immediately sprinkle them with a pinch of extra salt. Serve hot and enjoy your perfectly crispy creations!
Nutritional Information
A single serving (approximately 4-5 medium onion rings) prepared using this method contains an estimated:
- Calories: 250-300 kcal (depending on oil absorption)
- Fat: 18-22g
- Saturated Fat: 2-3g
- Carbohydrates: 20-25g
- Sugars: 3-4g
- Protein: 3-4g
- Dietary Fiber: 2-3g
- Sodium: 250-350mg
These figures are approximate and can vary based on exact portion sizes and oil used. Data suggests that while frying increases caloric density, homemade versions often contain fewer trans fats compared to many commercially prepared options, offering a slight advantage.
Healthier Alternatives for the Recipe
Enjoying the satisfying crunch of onion rings doesn't always have to come with the guilt of deep-frying. Here are some modifications to make your homemade onion rings a little lighter:
- Air Fryer Onion Rings: After battering, lightly mist the rings with cooking spray and air fry at 375°F (190°C) for 10-15 minutes, flipping halfway, until golden and crisp. You might not achieve the exact "deep-fried" texture, but it’s a delicious, healthier alternative.
- Baked Onion Rings: Place battered rings on a parchment-lined baking sheet, lightly mist with cooking spray, and bake at 425°F (220°C) for 15-20 minutes, flipping once.
- Whole Wheat Flour: Substitute a portion of the all-purpose flour with whole wheat flour for added fiber, though this may slightly alter the texture.
- Non-Dairy Milk: For a dairy-free option, use unsweetened almond milk or oat milk instead of water/club soda in the batter, though this recipe is already naturally dairy-free.
Serving Suggestions
These crispy delights are incredibly versatile! How to make homemade onion rings with crispy coating isn’t just about the cooking; it’s about the experience.
- Classic Companion: Serve them alongside burgers, hot dogs, or a juicy steak, perhaps even paired with our ultimate Fast Food classic cheeseburger!
- Dipping Delights: Offer a variety of dipping sauces: classic ketchup, tangy barbecue sauce, homemade ranch, a zesty aioli, or even a spicy sriracha mayo.
- Gourmet Garnish: Elevate a salad or a hearty sandwich by adding a few crispy rings on top for an unexpected textural contrast.
- Appetizer Platter: Arrange them on a platter with other finger foods for a perfect party appetizer. A personal favorite is serving them with a sprinkle of smoked paprika for an extra layer of flavor.
Common Mistakes to Avoid
Even seasoned cooks can stumble when striving for the perfect onion ring. Here are some common pitfalls and how to steer clear:
- Overcrowding the Fryer: This is the number one culprit for soggy onion rings. It drastically drops the oil temperature, leading to slow cooking and excessive oil absorption. Fry in small batches!
- Incorrect Oil Temperature: Oil that's too cool results in greasy rings; oil that's too hot burns the exterior before the onion cooks. Aim for 350-375°F (175-190°C). A digital thermometer is your best friend here.
- Not Drying the Onions: Any lingering moisture on the onion rings will cause the batter to slip right off or create steam pockets, leading to a less crispy result. Pat those onions dry!
- Overmixing the Batter: Excessively mixing the batter develops gluten, making the coating tough instead of light and crispy. Mix until just combined.
- Not Seasoning Immediately: Salt adheres best to hot, freshly fried foods. Sprinkle some extra salt the moment they come out of the oil for maximum flavor.
Storing Tips for the Recipe
Homemade onion rings are best enjoyed fresh, but sometimes leftovers happen!
- Short-Term Storage: If you have leftovers, allow them to cool completely. Store them in an airtight container in the refrigerator for up to 2-3 days.
- Reheating for Crispiness: The key to reheating is to restore their crispness without making them greasy. Avoid the microwave! Reheat in a preheated oven at 375°F (190°C) for 5-10 minutes, or in an air fryer at 350°F (175°C) for 3-5 minutes, until heated through and crisp.
- Freezing (for prepping ahead): While less ideal, you can freeze un-fried battered onion rings. Place individual battered rings on a parchment-lined baking sheet and freeze until solid. Transfer to a freezer-safe bag. Fry directly from frozen, adding an extra minute or two to cooking time. Batters with cornstarch typically freeze better than yeast-leavened batters.
Conclusion
You've now mastered the art of how to make homemade onion rings with crispy coating, transforming humble onions into a golden, crunchy delight. By following these steps and incorporating our data-backed tips, you're not just cooking; you're crafting an experience. The satisfying crunch, the sweet yet savory onion, and the sheer joy of creating something so utterly delicious in your own kitchen is unparalleled. We encourage you to try this recipe tonight! Did you achieve that perfect crisp? What's your favorite dipping sauce? Share your experiences and photos in the comments below! And for more amazing recipes designed to elevate your home cooking, browse our other culinary adventures, like our guide on crafting the perfect cheeseburger!
FAQs
Q1: Why are my onion rings soggy?
A1: Soggy onion rings are usually caused by oil that isn't hot enough (below 350°F/175°C), overcrowding the pot, or adding wet onion rings to the batter. Ensure your oil is at the correct temperature, fry in small batches, and thoroughly pat your onion slices dry before battering.
Q2: Can I use different types of onions?
A2: Absolutely! While yellow onions are traditional, sweet onions like Vidalia or Walla Walla are fantastic for a milder flavor. Red onions can also be used, offering a slightly sharper taste and beautiful color.
Q3: What's the secret to getting the batter to stick?
A3: The secret lies in a two-part process: first, ensuring your onion rings are completely dry, and second, using a light dredge of flour before dipping them into the wet batter. The initial dry flour layer creates a rough surface that the liquid batter can more easily adhere to.
Q4: Can I reuse the frying oil?
A4: Yes, you can! After frying, let the oil cool completely, then strain it through a fine-mesh sieve or cheesecloth to remove any food particles. Store the filtered oil in an airtight container in a cool, dark place for up to 3-4 uses, depending on what you fried. Discard if it smells rancid or appears very cloudy.
Q5: How can I make my onion rings extra crispy?
A5: For maximum crispiness, pay close attention to your oil temperature (375°F is ideal), ensure your batter contains cornstarch, and consider using ice-cold club soda instead of water in the batter for added effervescence. Frying in small batches is non-negotiable for that ultimate crunch.
Other Articles

How to Prepare Loaded Nachos with Cheese and Beef
How to Cook Spicy Chicken Burger for Fast Food Lovers


